
Web Fandango
Episode 02. Chroma Bot Landing Page
Hello, dear friends!
Welcome to Web Fandango series, where we build simple and awesome projects in Clojure. Our next project will be fascinating, but easy to implement. It will also be a solid ground for more complex ones that we will be covering later.
I’m going to show you how to build a chatbot for Telegram. Bots are getting a lot of traction recently, and Telegram is a popular messaging platform with an excellent API. Our bot will wait for a message with a color in a hex form like #dc322f and send back a picture filled with that color. Quite simple, but it would be a good example of how easy it is in Clojure.
To start, you will need Leiningen to create, build and run your project. If you don’t have it yet, install it on a Mac like so:
$ brew install leiningen
Or visit official website and follow instructions there if you use another platform.
The Plan
Let’s sketch a list of steps that we are going to complete to build it.
1. Landing
First, we are going to need a landing page for our bot, just a simple one that will show some information and a welcoming message with a button to add this bot to start a conversation.
2. Telegram API
Then we will need our app to connect to Telegram and process everything that users send to it. There are two ways of doing so, as it official documentation says:
-
we provide a public HTTP endpoint, which Telegram will provide latest unprocessed messages from users. It is ideal for a remotely deployed application, but can be tricky for local development, because people usually don’t have a public address for their machine and sit behind a router.
-
we perform long-polling of Telegram server. That means a continuous calling and waiting on the HTTP endpoint to receive information about messages sent to our bot and then making the same call again. This way is perfect for debugging and testing from a local machine.
So we’ll need some abstraction to make an infinite loop of remote calls, process the answers but still be able to serve our landing page.
3. Running a server
Finally, we need some tools to run our app on a remote server, write it’s progress to server log and monitor health of our app.
We are going to deploy our bot to Heroku first because it is dead easy to do and is free for small projects. The only problem with it is that sometimes our bot will die, because of the way Heroku manages resources. Later I will show you how to deploy almost that easy, but with Docker and DigitalOcean.
Start a new project
Now create a new project using the following command:
$ lein new compojure chroma-bot
This command tells Leiningen to create a new project with the name chroma-bot from a template called compojure. Compojure is an incredible library for building HTTP APIs, which reflects the structure of your endpoints very well. You can think of it as a routing layer of our application. It also provides a convenient template to start a new project for Leiningen, which we just used.
I suggest you to start a git repository right after you created a project and add first initial commit at this time, but that is entirely up to you.
This template lays a fine file structure for you:
$ tree chroma-bot -a
chroma-bot
├── .gitignore
├── README.md
├── project.clj
├── resources
│   └── public
├── src
│   └── chroma_bot
│       └── handler.clj
└── test
    └── chroma_bot
        └── handler_test.clj

6 directories, 5 files
-
README.mdis a file that will describe your project and GitHub will render it nicely for you on the project page. I’m leaving this completely up to your imagination. -
resourcesis for static resources of your application, like CSS styles for web pages or image assets -
srchold your sources either in Clojure or ClojureScript -
testis as you might guess, for unit tests
Firstly, check out handler.clj file:
(ns chroma-bot.handler
  (:require [compojure.core :refer :all]
            [compojure.route :as route]
            [ring.middleware.defaults :refer [wrap-defaults site-defaults]]))

(defroutes app-routes
  (GET "/" [] "Hello World")
  (route/not-found "Not Found"))

(def app
  (wrap-defaults app-routes site-defaults))
Here is one new concept that we haven’t covered in previous post about Clojure — namespaces. It helps to divide code into logical blocks, like modules in Ruby or packages in Node. If you are familiar with those, this declaration should be intuitive for you:
-
(ns chroma-bot.handler)tells that this file contains namespace called chroma-bot.handler. It is considered a best practice if file structure duplicates namespace structure. -
:requireexpression tells what to load from other namespaces and how to refer to those things:-
[namespace.foo :refer [a-function]]will loada-functionsymbol, which we can use directly, likewrap-defaultsfrom the code. -
[namespace.bar :as bar]will load all symbols fromnamespace.barand we will be able to refer to them withbar/prefix, likeroute/not-foundfrom the example above. -
You can also mix
:referand:asin a single require statement.
-
That should give you a brief understanding of how to use namespaces. If you want to have a deeper understanding, try this chapter of Clojure for the Brave and True.
Now, what about the code?
-
defroutesdefines routes ;) Seriously, it creates a structure that describes how to react for particular endpoints and gives it a nameapp-routes. There are two endpoints inside, Hello world response for root and Not found for everything else. That is certainly a very simple example, but look how elegant it looks! -
def appdefines new symbol, which isapp-routescovered with middleware, which as docs says “add support for parameters, cookies, sessions, static resources, file uploads, and a bunch of browser-specific security headers”
Here is how this code would look like in Node.js using Express.js:
// THIS IS JAVASCRIPT CODE!

import express from 'express'
import cors from 'cors'

const app-routes = express();

app.get('/', function (req, res) {
  res.send('Hello World!');
});

app.get('*', function(req, res){
  res.send('Not Found', 404);
});

app.use(cors());
// and other things provided by site-defaults in Compojure
Not that much different, right? Same stuff about requiring external modules and a little bit less concise declaration of routes.
Now let’s have a look at project.clj file, which defines metadata for our project:
(defproject chroma-bot "0.1.0-SNAPSHOT"
  :description "FIXME: write description"
  :url "http://example.com/FIXME"
  :min-lein-version "2.0.0"
  :dependencies [[org.clojure/clojure "1.7.0"]
                 [compojure "1.4.0"]
                 [ring/ring-defaults "0.1.5"]]
  :plugins [[lein-ring "0.9.7"]]
  :ring {:handler chroma-bot.handler/app}
  :profiles
  {:dev {:dependencies [[javax.servlet/servlet-api "2.5"]
                        [ring/ring-mock "0.3.0"]]}})
This should be mostly self-explanatory, but let’s briefly discuss it.
Amazing thing to note is that project definition is plain Clojure code and everything there is just keywords, lists, symbols and strings.
defproject tells that this expression defines a project with name chroma-bot and version 0.1.0-SNAPSHOT. The first couple of arguments is project name and version followed by a set of key-value pairs that describes project metadata.
Our primary interest here is dependencies. This should remind you of Gemfile or section of package.json of the same name, because it serves exactly the same purpose. It shows list or necessary libraries that should be pulled from remote repository and added to our project:
:dependencies [[org.clojure/clojure "1.7.0"]
               [compojure "1.4.0"]
               [ring/ring-defaults "0.1.5"]]
After :dependencies keyword there is a vector that holds pairs of library names and versions.
Let’s add some things here that we will need:
:dependencies [[org.clojure/clojure "1.7.0"]
               [org.clojure/core.async "0.2.374"]
               [com.taoensso/timbre "4.1.4"]
               [com.grammarly/omniconf "0.2.2"]

               [ring "1.4.0"]
               [ring-server "0.4.0"]
               [ring/ring-defaults "0.1.5"]

               [compojure "1.4.0"]
               [hiccup "1.0.5"]]
-
ringis an HTTP abstraction for Clojure. As the documentation says, it is inspired by Python’s WSGI and Ruby’s Rack. There is a server that runs, functions that processes requests and middleware that does jobs like logging errors or converting the request to various formats depending on the content-type header. -
compojureis a routing library that helps you tremendously to define functions in a modular way for different endpoints and compose them into single ring-compatible one. -
hiccupis a library for HTML generation straight from the code, which we’ll use for landing page. -
core.asyncis a concurrency abstraction, based on the idea of channels, also known as CSP. It will help us to talk to Telegram API on a local machine using long-polling. -
timbreis a gorgeous logging library, that beautifully renders exception and works perfectly for both server and client-side code. It will add some beauty to our printing of technical info to console. -
omniconfis a fabulous library be Grammarly to manage a configuration of our application. It is capable of defining parameters, validating them for completeness, reading from file or environment. I encourage you to follow 12 factor principles and not store any configuration in your code.
Make it pretty
Remember in project.clj we had this piece of code?
:plugins [[lein-ring "0.9.7"]]
:ring {:handler chroma-bot.handler/app}
This is plugin that helps you to run your app locally. Give it a shot:
$ lein ring server
This should open a http://localhost:8080/ page in your browser wich will look like this:
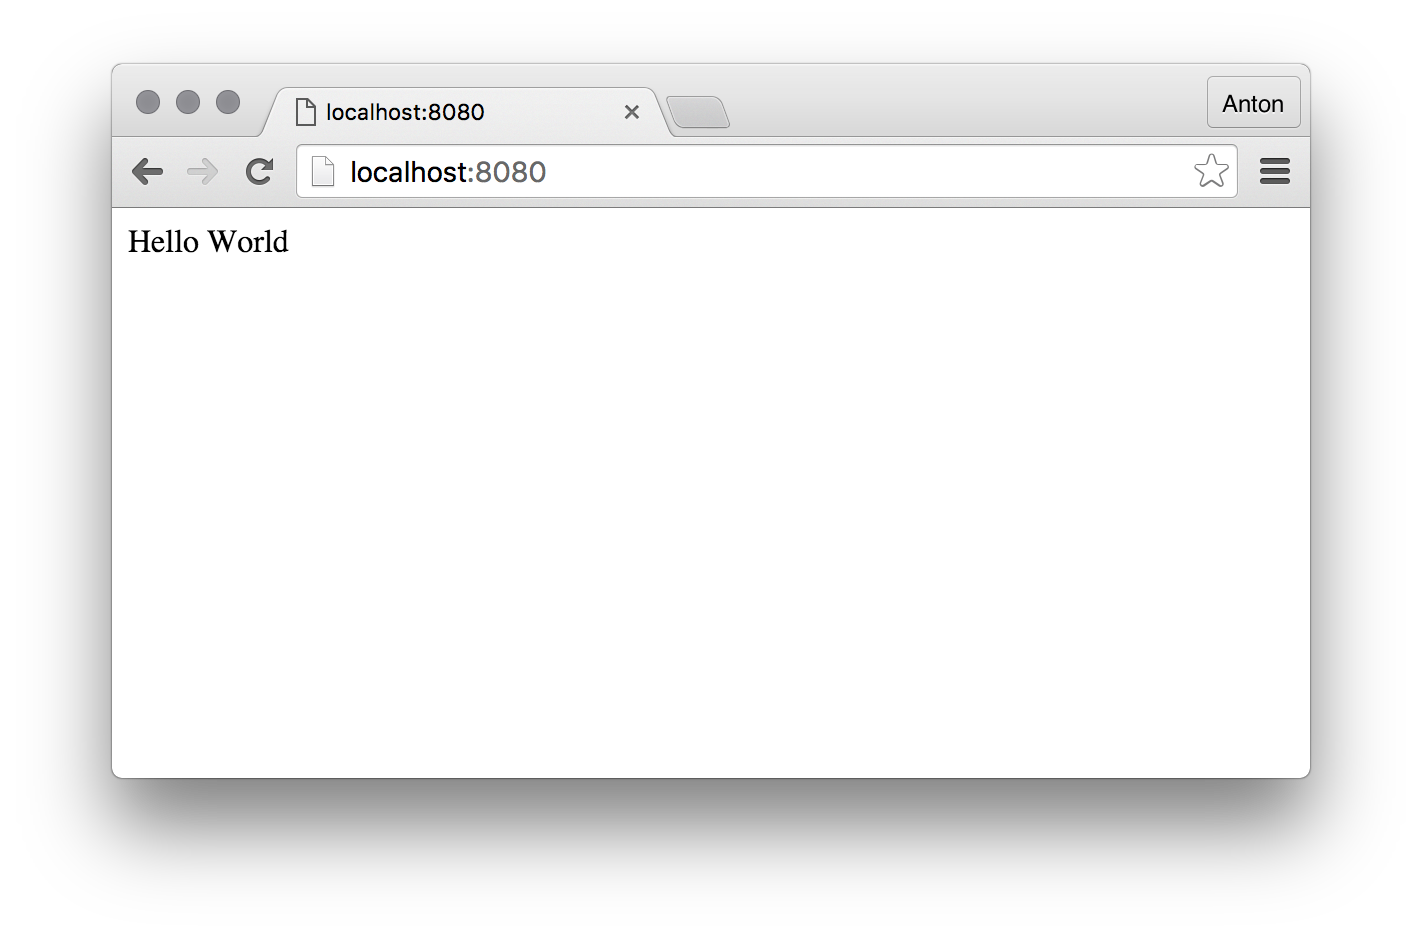
You can replace “Hello World” in your code, refresh your page in the browser and observe changes straight away. Fancy, huh!
But our page doesn’t look that fancy yet. Let’s add some style to it. I hope you are familiar with CSS & HTML :) If not, there is beautiful and easy tutorial that will help you to get thorough understanding very quickly.
Add styles.css file to resources/public folder with following content:
.banner-pane {
  display: inline-block;
  width: 100px;
  height: 30px;
  border-width: 0;
}
/* thanks to http://www.colourlovers.com/palette/4134762/60s */
.n-0 { background-color: #F79F79; }
.n-1 { background-color: #F7D08A; }
.n-2 { background-color: #D0EFB1; }
.n-3 { background-color: #87B6A7; }
.n-4 { background-color: #5B5941; }
There we defined colors for our landing banner. Other CSS classes we are taking from exceptional Semantic UI project which provides excellent tools for laying out UI for a web application. We are using just a tiny portion of it now, but later it will shine in its full potential when we cover more complex UIs in ClojureScript.
Add layout.clj to your src/chroma_bot folder that will contain html generation for our landing:
(ns chroma-bot.static
  "Layouts for server-side rendered pages"
  (:require [hiccup.core :refer [html]]
            [hiccup.page :refer [include-css]]))

(defn page
  "Renders html page with provided content"
  [content]
  (html
    [:html
     [:head
      [:meta {:charset "utf-8"}]
      [:meta {:name "viewport" :content "width=device-width, initial-scale=1"}]
      [:title "Chroma Bot"]

      (include-css "//oss.maxcdn.com/semantic-ui/2.1.7/semantic.min.css")
      (include-css "/style.css")]

     [:body content]]))

(def home
  (page
    [:div.ui.container
     [:div.ui.vertical.masthead.center.aligned.segment
      [:div.ui.test.container
       [:div.logo
        [:div.banner-pane.n-0]
        [:div.banner-pane.n-1]
        [:div.banner-pane.n-2]
        [:div.banner-pane.n-3]
        [:div.banner-pane.n-4]]

       [:h1.header "Welcome to Chroma Bot"]
       [:h3 "Telegram bot that helps you with colors"]
       [:a.ui.huge.button {:href "#"} "Start Conversation" [:i.icon.right.arrow]]]]]))
That might be offbeat for erb or mustache people, but should be very familiar to haml folks. Here we are using Hiccup library for generating HTML. It has dead simple syntax, which you probably already figured our: [:tag.class {:attribute value} children].
With it’s help we defined page function that wraps content with meta information. After that, we declare home page symbol with some text and a banner to make our landing look lovely.
Refresh the page in your browser and you should see something like this:
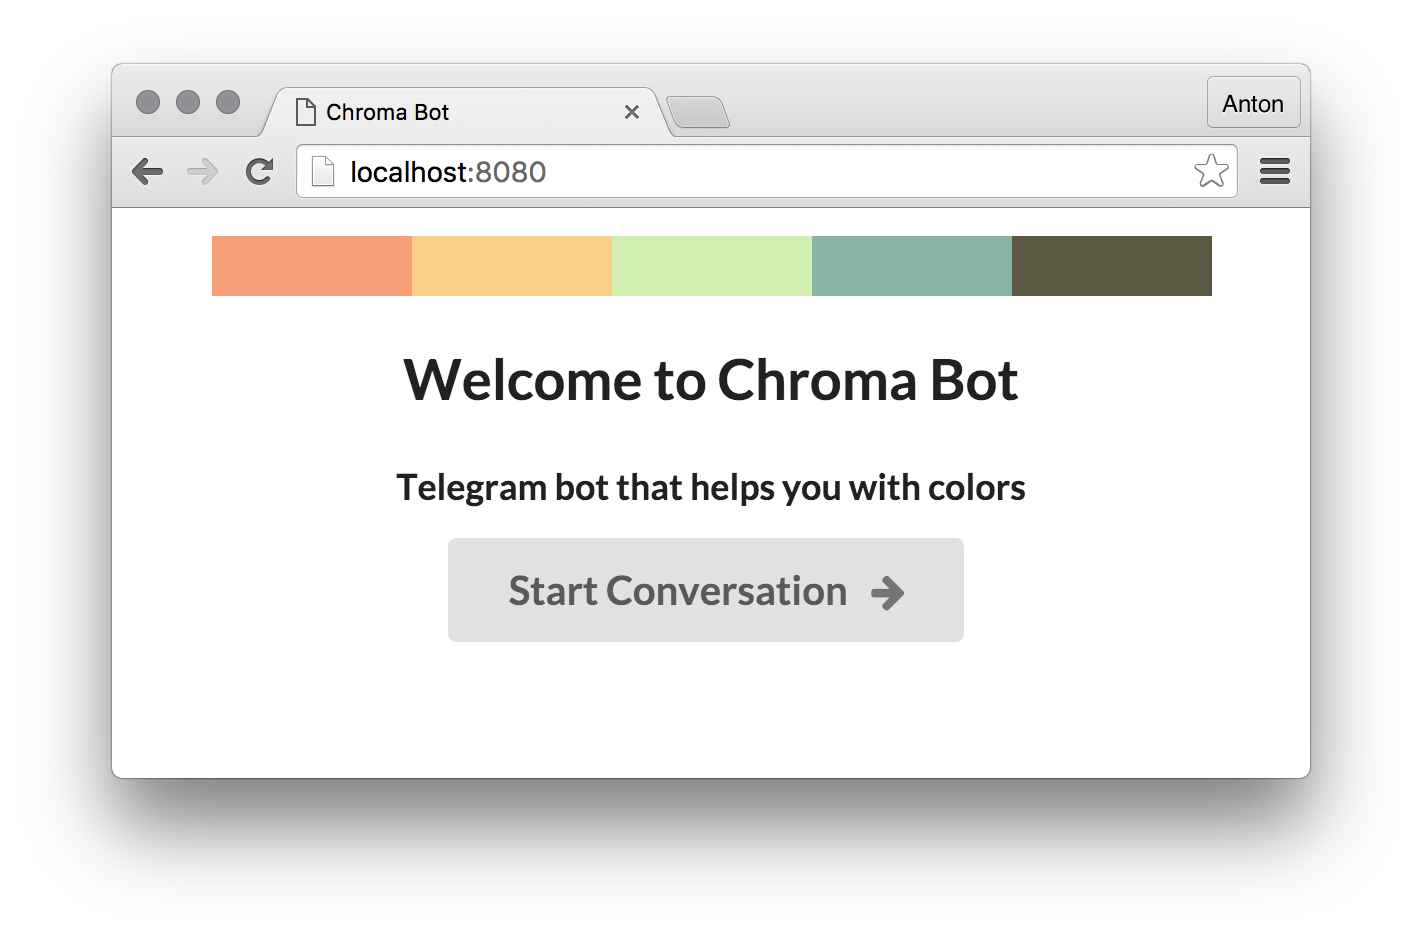
Quite a thing for so little effort so far!
Make it runnable and deployable
Next thing we’ll do is make our code runnable on Heroku. By default it builds Clojure projects by packaging them into .jar files, so we should prepare a suitable runnable artifact for it.
Create a main.clj file in chroma_bot folder with the following content:
(ns chroma-bot.main
  "Responsible for starting application from command line"
  (:gen-class)
  (:require [taoensso.timbre :as log]
            [clojure.java.io :as io]
            [omniconf.core :as cfg]
            [ring.adapter.jetty :refer [run-jetty]]

            [chroma-bot.handler :refer [app]]))

(cfg/define {:port {:description "HTTP port"
                    :type :number
                    :default 8080}})

(defn -main [& args]
  (cfg/populate-from-env)
  (cfg/verify :quit-on-error true)
  (log/info "Starting server")
  (run-jetty app {:port (cfg/get :port) :join? false}))
Here is what is does:
-
(:gen-class)tells Leiningen to generate Java class from his namespace, which acts as an entry point for the.jar-packaged application. -
cfg/definedescribes configuration structure for our application. We start with only one parameter — a port on which Heroku will run our app. They will provide a value for us through environment variablePORTwhichomniconfwill pull automatically, based on:portname that we gave it as a key. -
-mainis the conventional name for a method that will be called when the Java class will be called from command line. In that method we callcfg/populate-from-envfunction to pull configuration from environment variables, then validate it with(cfg/verify :quit-on-error true). After that we log simple message that our server has started and, well, start an HTTP server, providing it our template-generated routes by callingrun-jetty.
Now let’s provide instruction for Leiningen about how to run packaged application. Change profiles section in the project.clj file to look like this:
:profiles {:dev {:dependencies [[javax.servlet/servlet-api "2.5"]
                                [ring/ring-mock "0.3.0"]]}

                 :uberjar {:aot :all
                           :omit-source true
                           :main chroma-bot.main
                           :uberjar-name "chroma-bot.jar"}}
Applications are packaged into .jar files with the uberjar command, so we instructing Leiningen to perform ahead-of-time compilation of the source code, not to package sources, name of the jar file and, the most important part — entrypoint for the application.
Now everything is ready to build and run our app:
$ lein uberjar
That command should create /target folder with chroma-bot.jar file in it.
$ java -jar target/chroma-bot.jar
2016-03-12 21:03:18.525:INFO::main: Logging initialized @2340ms
Omniconf configuration:
 {:port 8080}

16-Mar-12 21:03:20 macwookie.local INFO [chroma-bot.main] - Starting server
2016-03-12 21:03:20.130:INFO:oejs.Server:main: jetty-9.2.z-SNAPSHOT
2016-03-12 21:03:20.218:INFO:oejs.ServerConnector:main: Started ServerConnector@3d3c886f{HTTP/1.1}{0.0.0.0:8080}
2016-03-12 21:03:20.218:INFO:oejs.Server:main: Started @4034ms
Now navigate to http://localhost:8080 in your browser and you should see same landing page as you saw before. Congratulations! We are ready to deploy our stuff to Heroku.
Ship and Push it
If you don’t have Heroku account, I encourage you to give it a shot and sign up. Otherwise just skip one paragraph about login.
After you sign up, Heroku will suggest you to install their Toolbelt and so you should ;)
After you will be done, log into your newly created account:
$ heroku login
Enter your Heroku credentials.
Email: anton@otann.com
Password (typing will be hidden):
Logged in as anton@otann.com
Then create an app. You can provide a name, but it may be taken, so for example purposes I will go with a random name:
$ heroku create
Creating app... done, stack is cedar-14
https://young-citadel-23723.herokuapp.com/ | https://git.heroku.com/young-citadel-23723.git
So my new app got a random name in this example — young-citadel-23723.
Next step is to add Procfile to the root directory of your project with a single line:
web: java $JVM_OPTS -jar target/chroma-bot.jar
This tells Heroku how to run our app after it’s built.
Now, commit everything we’ve created so far and push it Heroku’s remote repository:
$ git add .
$ git commit -m "chroma-bot landing page & heroku app"
[master 0ba770a] chroma-bot landing page & heroku app
 6 files changed, 96 insertions(+), 6 deletions(-)
 create mode 100644 Procfile
 create mode 100644 resources/public/style.css
 create mode 100644 src/chroma_bot/main.clj
 create mode 100644 src/chroma_bot/static.clj
$ git push heroku master
Counting objects: 23, done.
Delta compression using up to 4 threads.
Compressing objects: 100% (15/15), done.
Writing objects: 100% (23/23), 3.52 KiB | 0 bytes/s, done.
Total 23 (delta 2), reused 0 (delta 0)
remote: Compressing source files... done.
remote: Building source:

# ...
#
# extraordinarily long log of building an app will be here, but I omit it
# it should end with something like this:
#

remote:
remote: Verifying deploy... done.
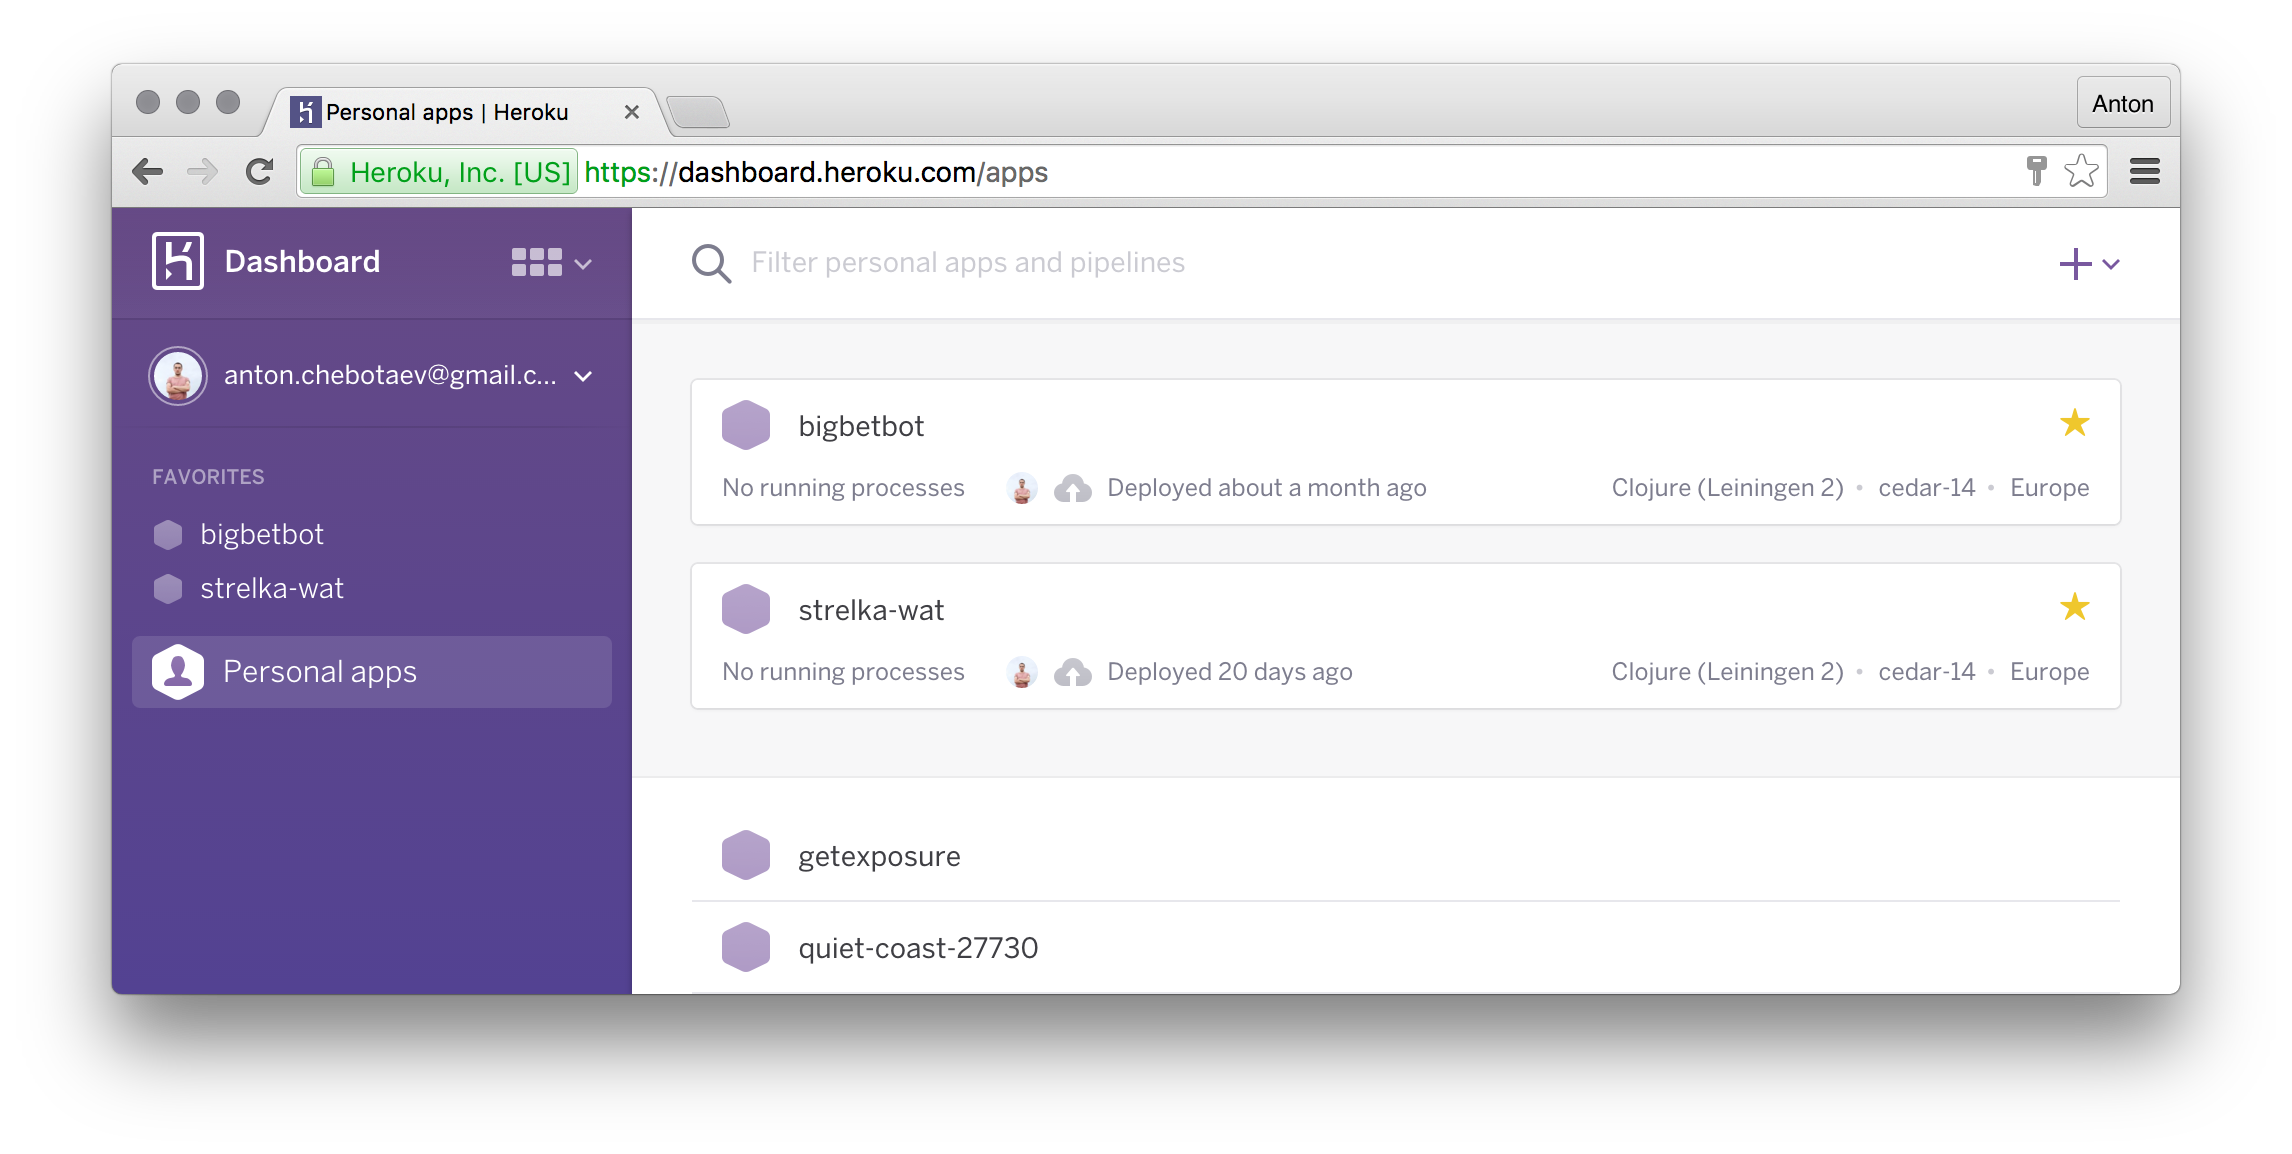
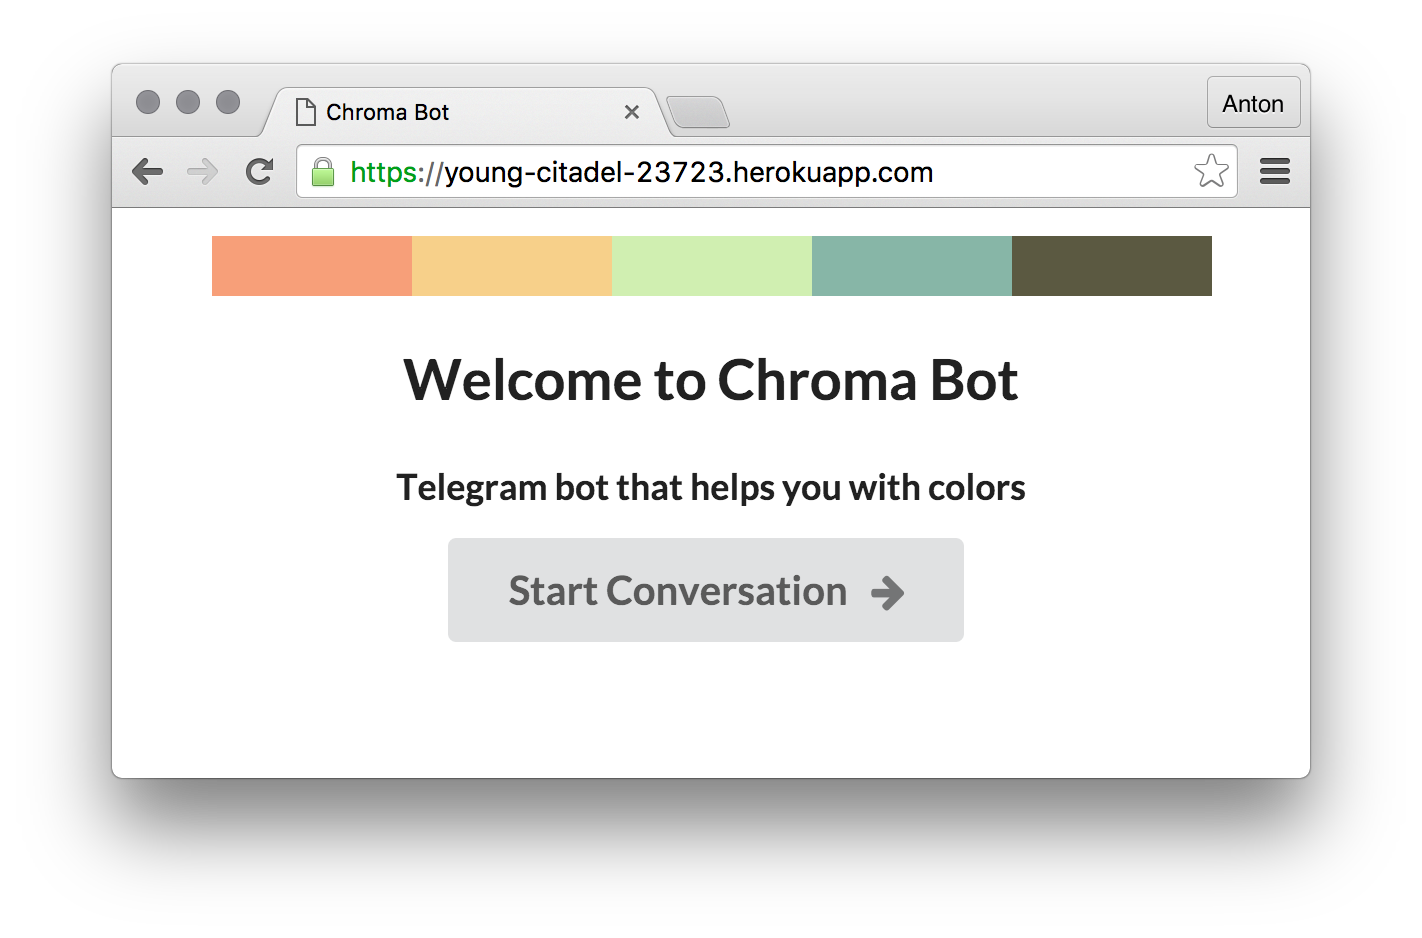
If it ended with same done message, then you can open your app in browser and enjoy being awesome:
$ heroku open
Will open your remotely deployed app:
So far so good
That would be it for this episode!
You can check out full code at GitHub: otann/chroma-bot
In the next one, we will follow the plan, connect Chroma Bot to Telegram and make some basic communication through messenger.
I hope you had fun and and enjoyed this episode. Please like and share and let me know what you think in a comment section below.
I will see you in later!